This post covers the process of how to install Anaconda on macOS and the key points to watch out for. If you are starting a data science or machine learning project on macOS, or if you plan to program with Python, installing Anaconda is one of the most efficient ways to get started. Anaconda is a distribution that includes Python and a variety of libraries related to data analysis and machine learning, making it convenient to install all the necessary tools at once. Additionally, Anaconda provides a package management tool called conda, which allows you to easily install and manage various Python packages.
Table of Contents
What Is Anaconda?
Anaconda is an open-source distribution for scientific computing in Python and R. It includes numerous libraries and tools related to data science, machine learning, artificial intelligence, and statistical analysis, so you can install and use them all at once without needing to install them separately. Important libraries like NumPy, Pandas, SciPy, TensorFlow, and scikit-learn are included, enabling you to quickly start data analysis and machine learning tasks.
One of Anaconda’s core tools, conda, is a tool for managing packages and environments. It allows you to install and manage packages not only for Python but for various languages, and it makes it easy to create and manage independent virtual environments for each project.
Installing Anaconda on macOS
The process of installing Anaconda on macOS is straightforward, but there are a few things you should keep in mind. Below is a detailed explanation of the installation process and important considerations.
Downloading Anaconda
Access the Homepage and Navigate to the Download Page
To start the Anaconda installation, you first need to download the installer from the official website. Go to the top menu and navigate to Products > Distribution.

If you want to receive information about Anaconda, you can enter your email address and click the green “Submit” button. If you do not wish to receive information via email, you can click “Skip registration” to proceed to the download page.
Directly Accessing the Anaconda Download Page
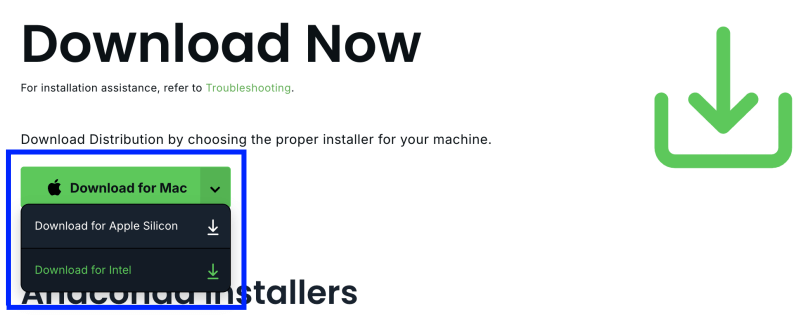
Alternatively, open your web browser and go directly to the Anaconda download page. Click the green download button for Mac, and you will be guided to choose between versions for Apple Silicon and Intel Chip based on your Mac’s processor. The green button will download a GUI-based installer with a .pkg extension.
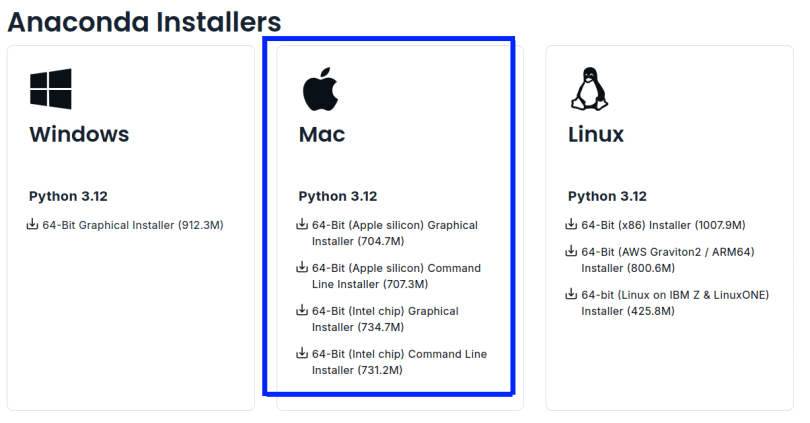
If you prefer to install via command-line shell, you will need to download the appropriate file from the “Anaconda Installers” section. In the middle of the “Anaconda Installers” page, you will find files for the Mac operating system. The Mac OS currently supports two versions: one for Intel processors and one for Apple Silicon processors. Make sure to download the correct file for your Mac. Additionally, the installation programs are divided into GUI and CLI versions, so choose the one that suits your preference.
How to Install Anaconda on macOS
I am using a Mac with an Intel processor, so I downloaded the version for Intel processors. Thus, the following explanation will be based on the Intel version. I will cover both the GUI and CLI installation methods, starting with the GUI installation.
GUI Installation
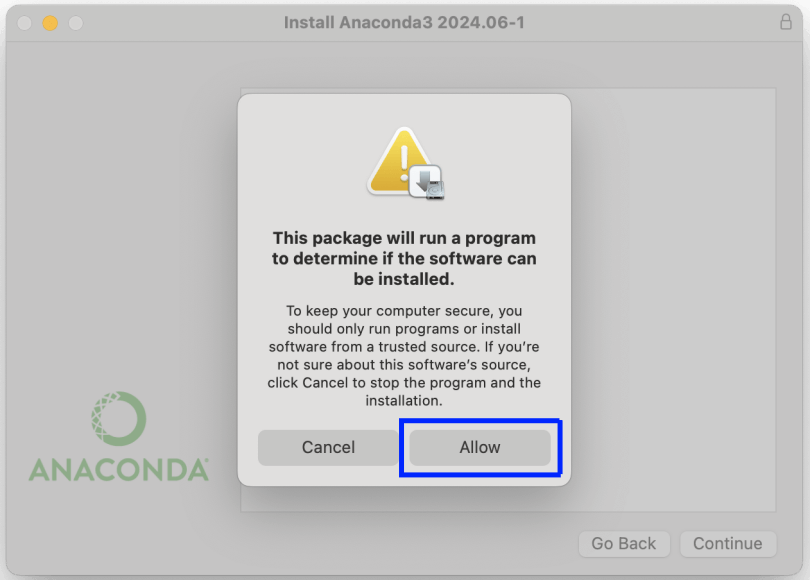
When the prompt “This package will run a program to determine if the software can be installed” appears, click “Allow.”
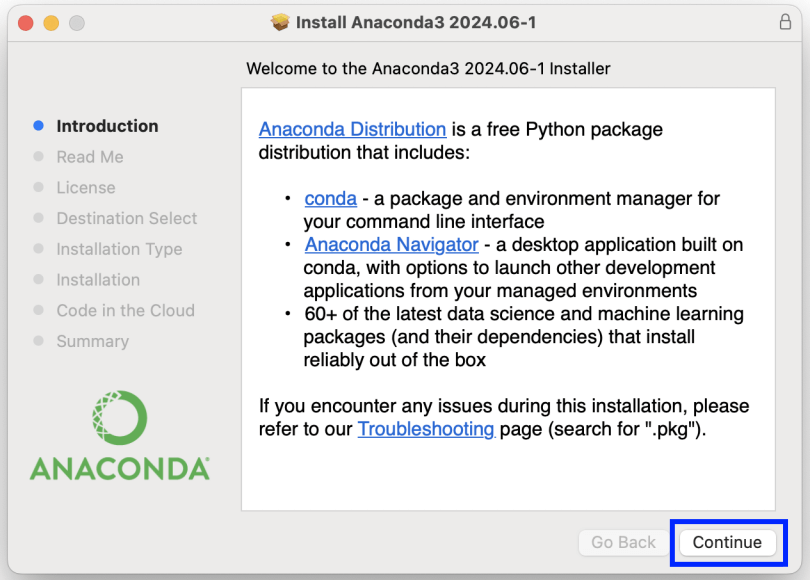
When the introduction to Anaconda installation appears, click “Continue.”
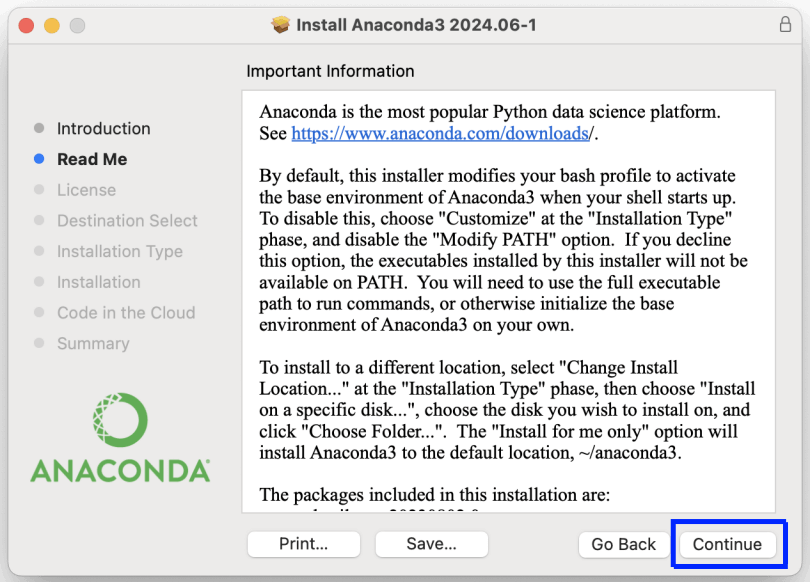
After reading the important information, click “Continue.”
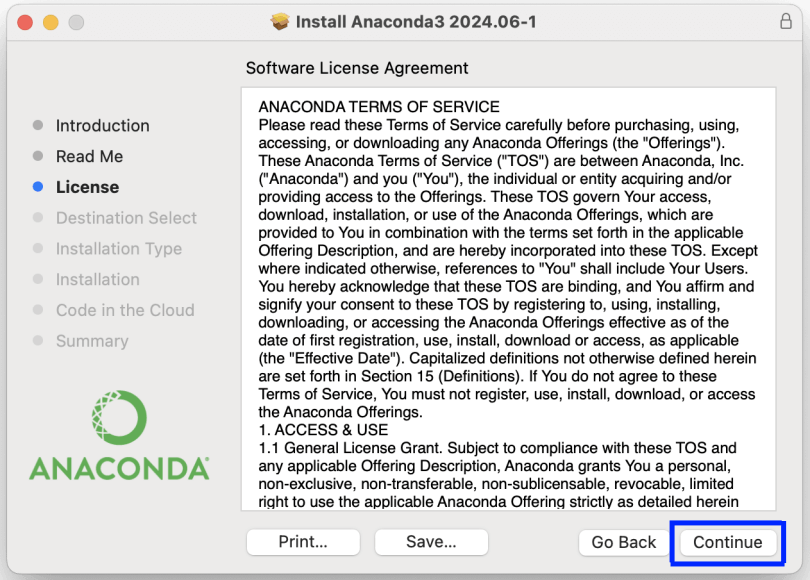
Review the Anaconda software license agreement, then click “Continue.”
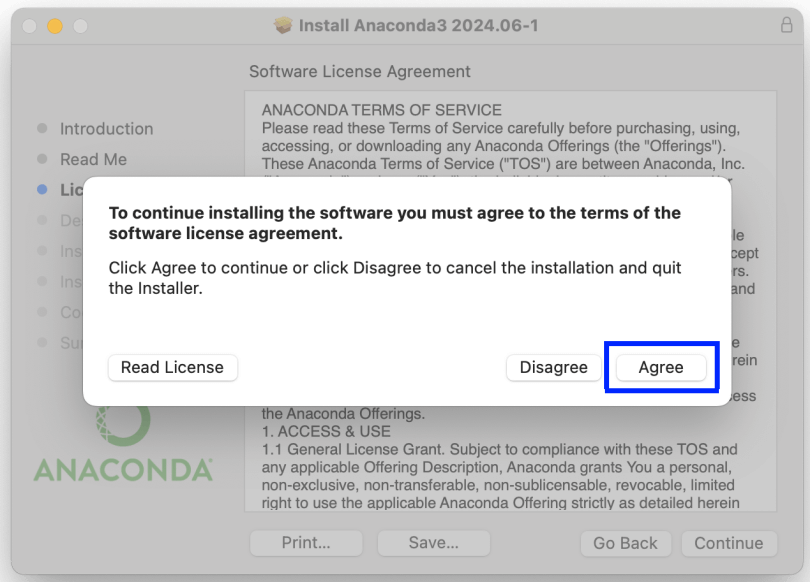
If you agree to the terms and conditions, click “Agree.”
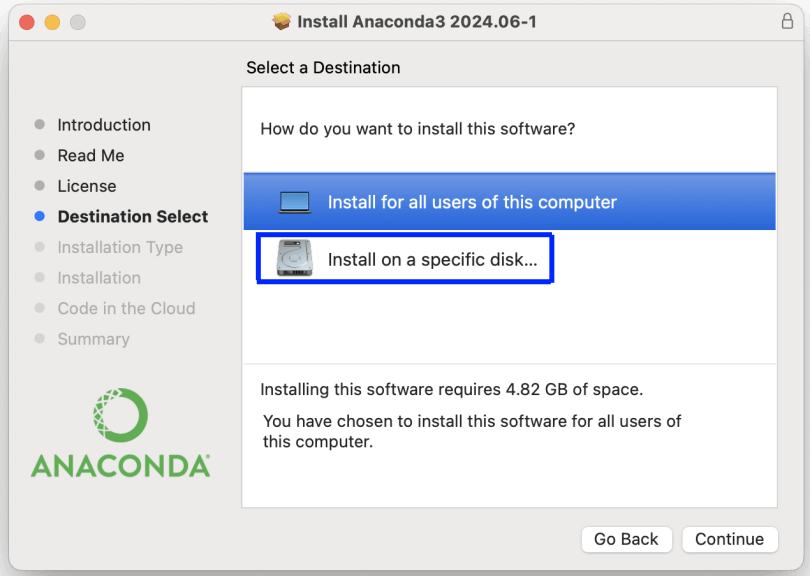
If you want all users of the computer to have access, choose “Install for all users of this computer.” However, I want to install Anaconda independently for each user, so I clicked “Install on a specific disk.”
Select the location where you want to install Anaconda. Choose “Macintosh HD,” and click the “Select Folder” button.
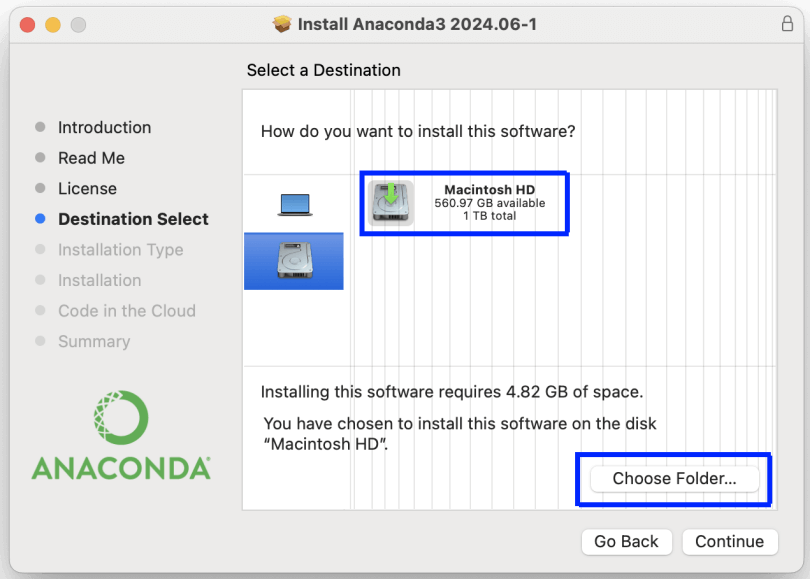
My username is “4gb,” so I will install Anaconda in the Users > 4gb directory. Please select the directory you use. After selecting, Anaconda will be installed under the opt/anaconda3 directory within the user directory. If you want to install Anaconda in /Users/user/anaconda3, do not use the GUI installer and opt for the CLI method instead.
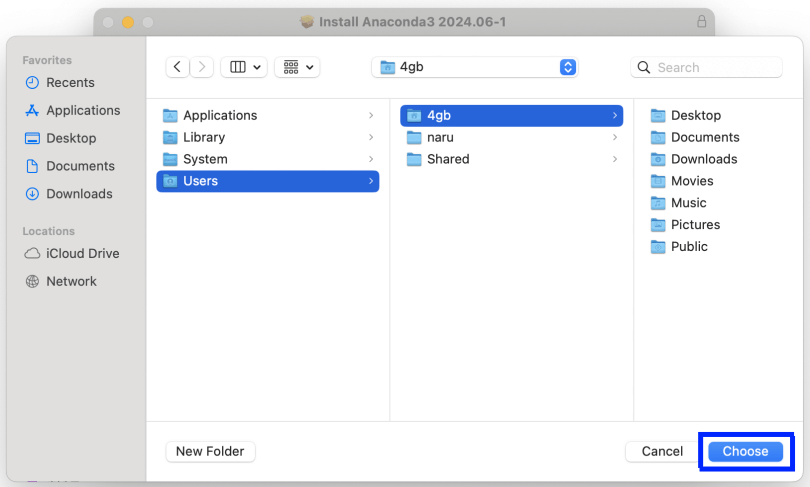
Now that you have selected the target disk and folder, click “Continue.”
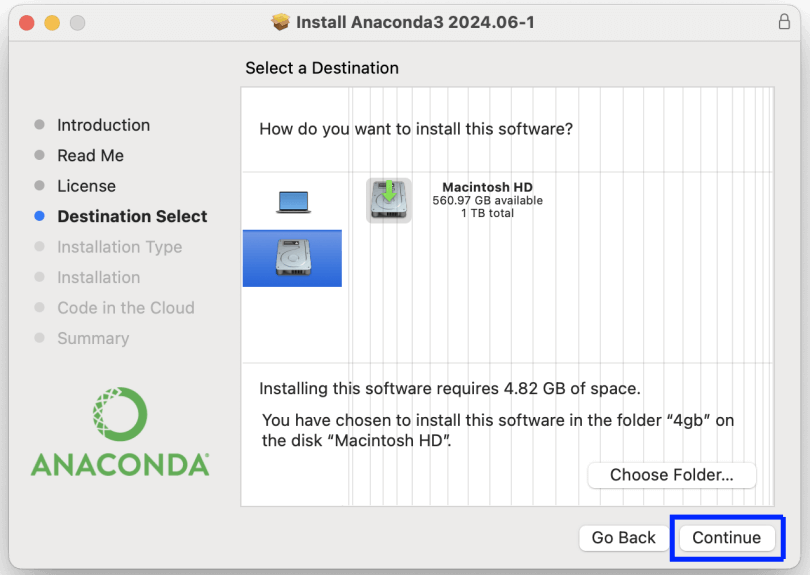
Click “Install” to proceed with the installation.
After the installation, a prompt will appear suggesting you can use Anaconda in the cloud for coding. Click “Continue” to move forward.

A message will appear indicating that the installation was successful. Click “Close.”
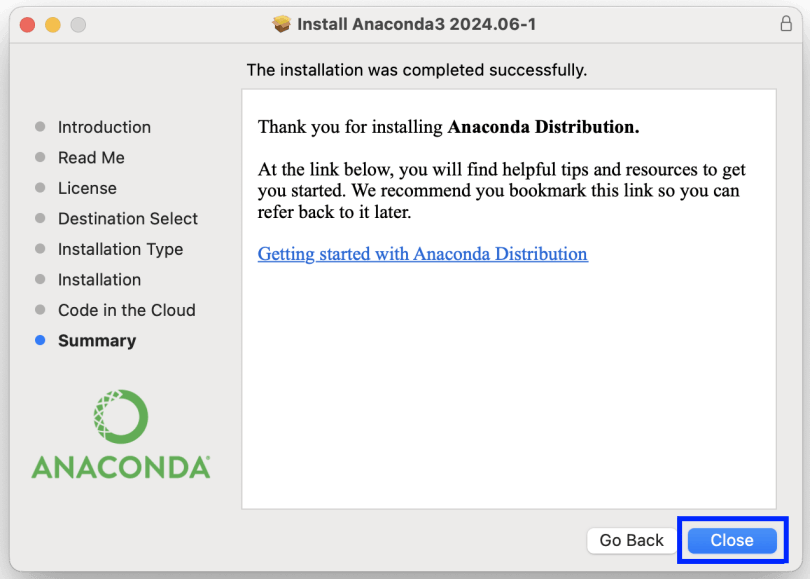
If you see a message indicating the installation failed instead of a success message, delete the Anaconda directory as shown below, reboot, and try installing again.
rm -rf ~/opt/anaconda3Finally, you will be asked whether you want to move the .pkg file used for installation to the trash. If you no longer need it, click “Move to Trash“. I chose this option.
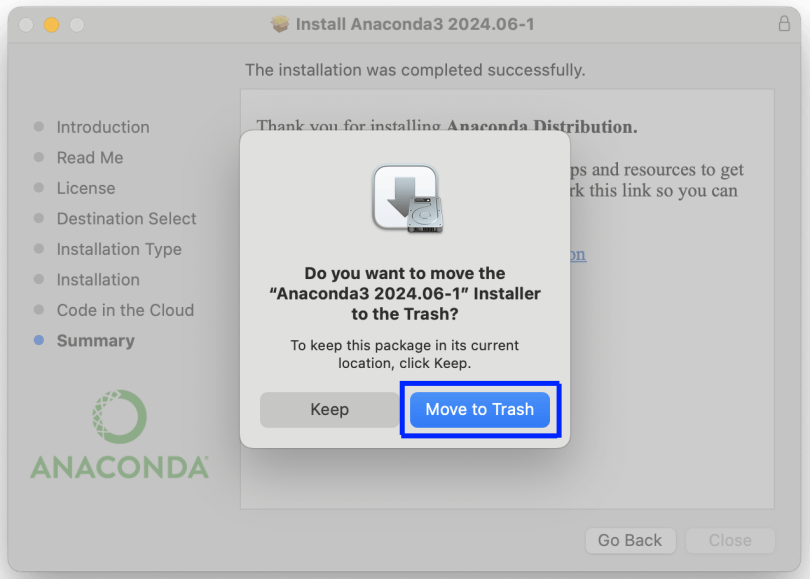
When installing Anaconda via the GUI, the base Anaconda environment is set up by default, and Anaconda initialization is added to your .zshrc or .bashrc. As mentioned earlier, Anaconda will be installed in the ~/opt/anaconda3 directory based on the user path specified during GUI installation.
CLI Installation
Run the downloaded “Anaconda3-2024.06-1-MacOSX-x86_64.sh” file using the sh command.
sh Anaconda3-2024.06-1-MacOSX-x86_64.shAfter running the installation file, press “ENTER” to proceed.

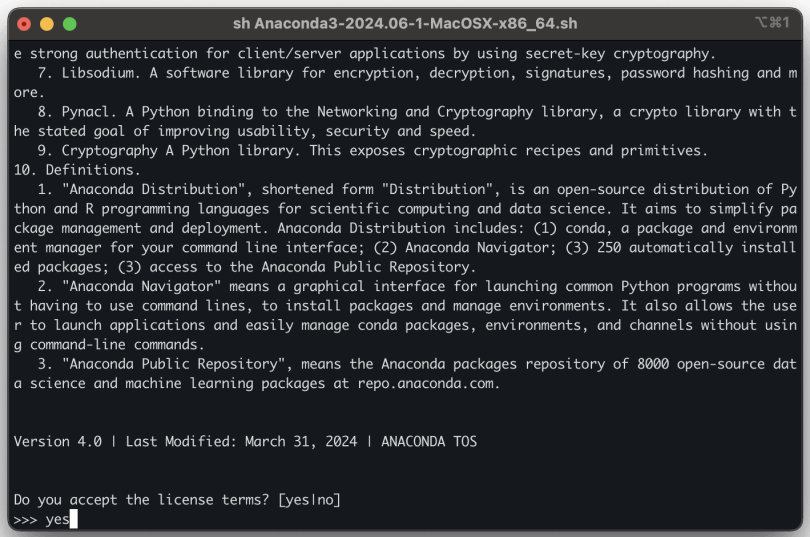
Review the terms and conditions. You can skip through pages using the spacebar. If you agree to the terms, type “yes” to continue.
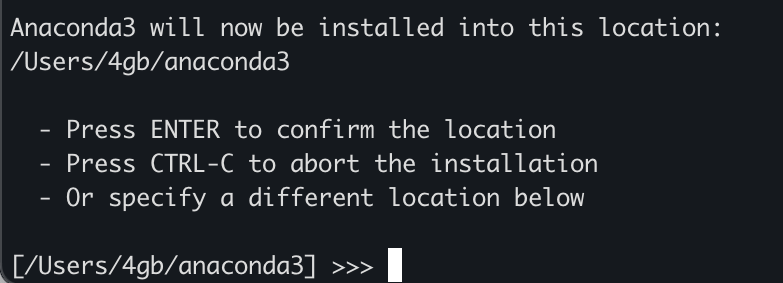
You can set the installation path for Anaconda. By default, it will be installed in the ~/anaconda3 directory.
The installation path differs from when you install via the GUI. If you want to install it in the same location as in the GUI method (e.g., ~/opt/anaconda3), you can enter the full path such as /Users/4gb/opt/anaconda3. Here, 4gb is my account name, so you should replace it with your own account name.
I will proceed with the default path by pressing “ENTER.”
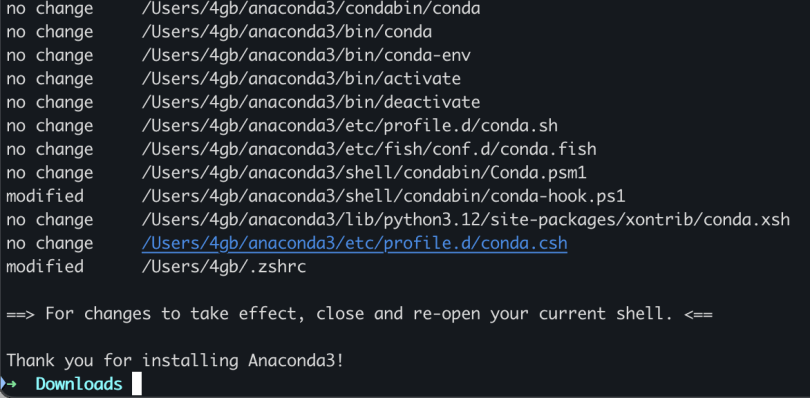
After the installation is complete, you will be asked if you want to initialize conda. If you do not initialize, you will have to set the path manually each time, so it’s convenient to initialize conda now. Press “ENTER” or type “yes” to initialize conda.

The installation process for Anaconda is now complete. You will be prompted to close and reopen the shell for Anaconda (base) to be applied.
Verifying the Installation and Initial Setup
After installing Anaconda, you should verify that the installation was successful.
Opening the Terminal
Open the terminal and enter the following command. This command will output the installed version of Anaconda.
conda --versionIf the version is displayed correctly as shown below, the installation was successful.

You can also check the path of the current base Anaconda environment by entering conda env list. In the example below, it was installed via the GUI, so you can see that it is installed in opt/anaconda3.

Creating a Basic Virtual Environment
When you initialize conda during the Anaconda installation, a default virtual environment called “base” is created. However, when developing, it’s a good practice to use independent environments for each project. To create a new virtual environment, use the following command:
Here, my_env is the name of the new virtual environment you want to create.
conda create --name my_envTo activate the newly created virtual environment, enter the following command:
conda activate my_envUseful Features of Anaconda
Anaconda offers a variety of useful features beyond just managing Python packages.
- Jupyter Notebook: Included in Anaconda, Jupyter Notebook provides a web-based interactive development environment. It allows for data visualization and immediate analysis, making it a preferred tool for data scientists.
- Spyder: Spyder, also included in Anaconda, is an Integrated Development Environment (IDE) designed for scientists and engineers. It offers an interface similar to MATLAB, making it useful for writing and debugging Python code.
- Package Management: Using the conda command, you can install or update specific versions of packages. Additionally, with virtual environments, you can manage package versions for individual projects, preventing conflicts.
Post-Installation Considerations
After installing Anaconda, there are a few important things to keep in mind.
PATH Configuration
If the PATH is not set during installation, you may need to specify the Anaconda installation path each time you use the conda command. You can add the path to the terminal as follows:
export PATH="/Users/username/anaconda3/bin:$PATH"Adding this to your .bash_profile or .zshrc file will automate the process, so you won’t need to enter it each time.
Conflict with Default Python Environment
Installing Anaconda may change your default Python environment to Anaconda’s Python. If you wish to retain your existing Python environment, you can either avoid setting the PATH during installation or actively use virtual environments.
Update Management
Regular updates of Anaconda and conda are necessary. These updates bring new features and bug fixes, so it’s a good idea to update regularly.
conda update conda
conda update anaconda
Summary
Installing Anaconda on macOS is an essential step for starting data science and machine learning projects. Anaconda is convenient because it installs Python and related data analysis libraries all at once, and with conda, you can easily manage packages and set up independent environments for each project.
By carefully configuring PATH settings and using virtual environments during the installation process, you can establish an efficient and stable development environment. Regular updates and environment management will help maintain a better development experience.
